Create an Invoice Contact
Notice
The Images used in this page are reused from the Original (German) version and will change in the near future.
What is the purpose of an invoice contact?
Invoice contacts are particularly useful if your company or organization uses a central billing email address where all incoming invoices should be sent.
Since a Servercow account can have multiple sub-users of various types, which may, for example, be used to communicate with support in the ticket system, an invoice contact can be an ideal solution.
-
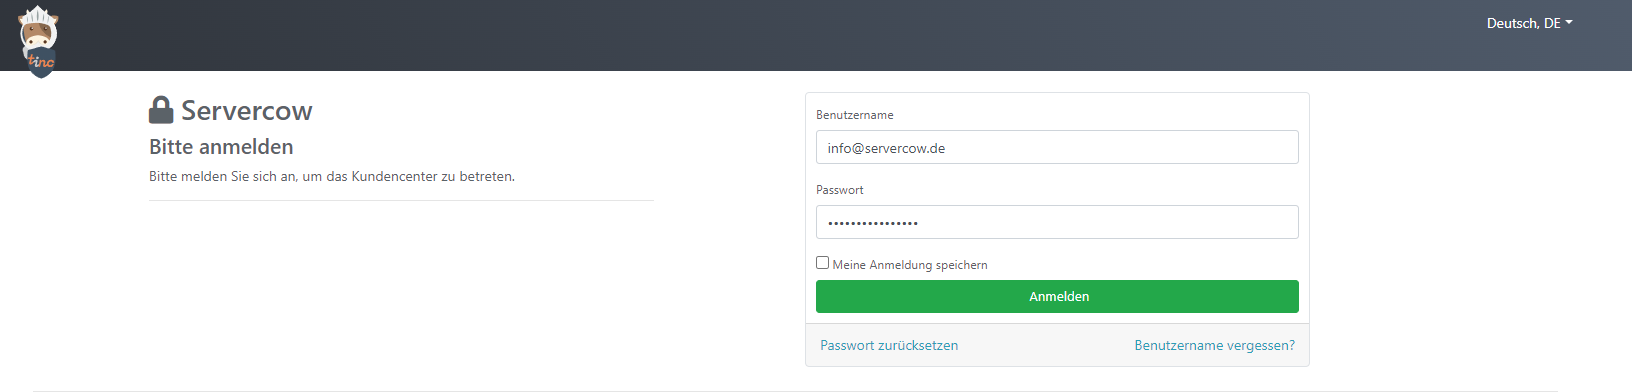
Log in to the customer portal
Log in at https://cp.servercow.de using your credentials.
-
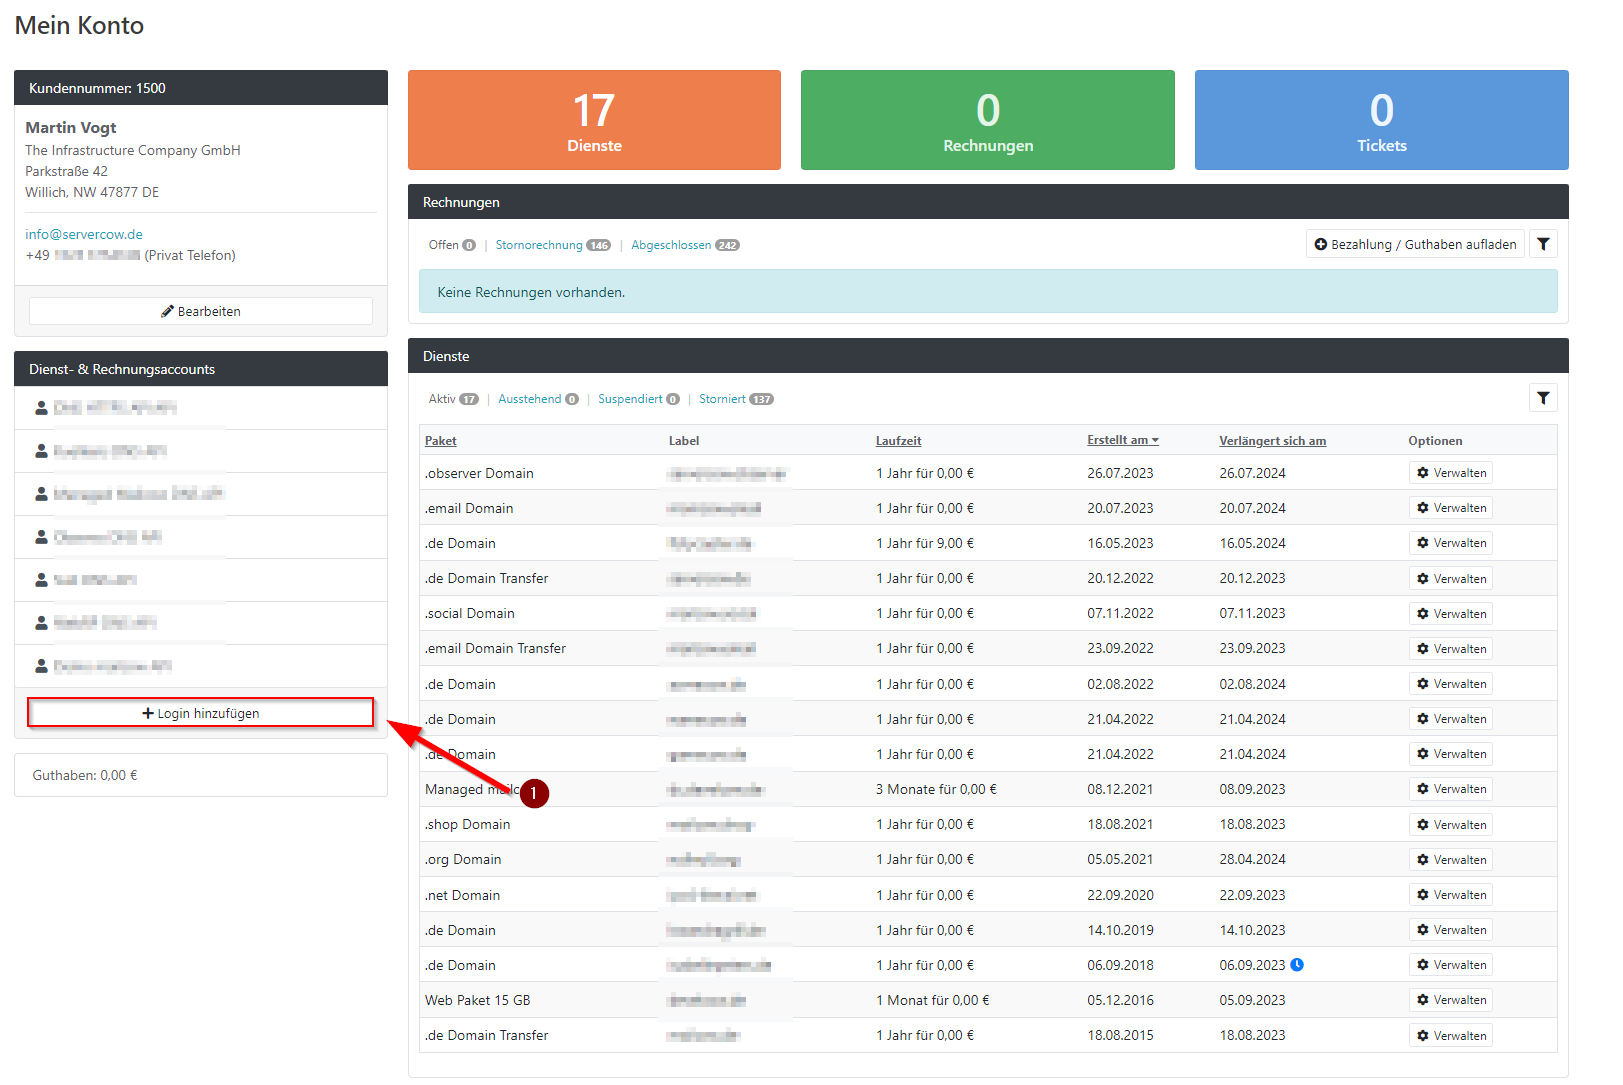
Add login
Click on "Add login".
-
Enter user information
Enter the user information as needed. You can also use information from an existing user or the main contact. -
Select user group
Switch to the User Group tab and select the Invoices group.

-
(Optional) Set login and permissions
In the Login and Permissions tab, you can enable the login and set the permissions for the new account.

Note
This is not required if the account is used exclusively for invoice delivery!
-
Use the invoice contact
-
Navigate to your account settings on the homepage.

-
Open the Payment Settings tab.
- Under Issue invoices to, select the desired contact to whom the invoices should be sent.
Important Note
Only one invoice contact can be active per account.
-