Set Up Thunderbird
Notice
The Images used in this page are used from the German version and will change in the near future.
As an email client for simple and convenient integration with the mailcow Groupware, we recommend Mozilla Thunderbird or one of its forks.
Info
This example was recorded using the Betterbird fork.
Add Mailbox via Autoconfig
To easily and elegantly add the mailbox, you should first set the DNS settings for Autoconfig and Autodiscover.
Once that's done, proceed as follows:
- Open Thunderbird or another fork of Thunderbird.
- If this is the first time setting it up, the configuration assistant should open automatically. If not: Click on the burger menu in the top right corner and select New Account.
-
A configuration assistant will open, which you fill out with the mailbox data:
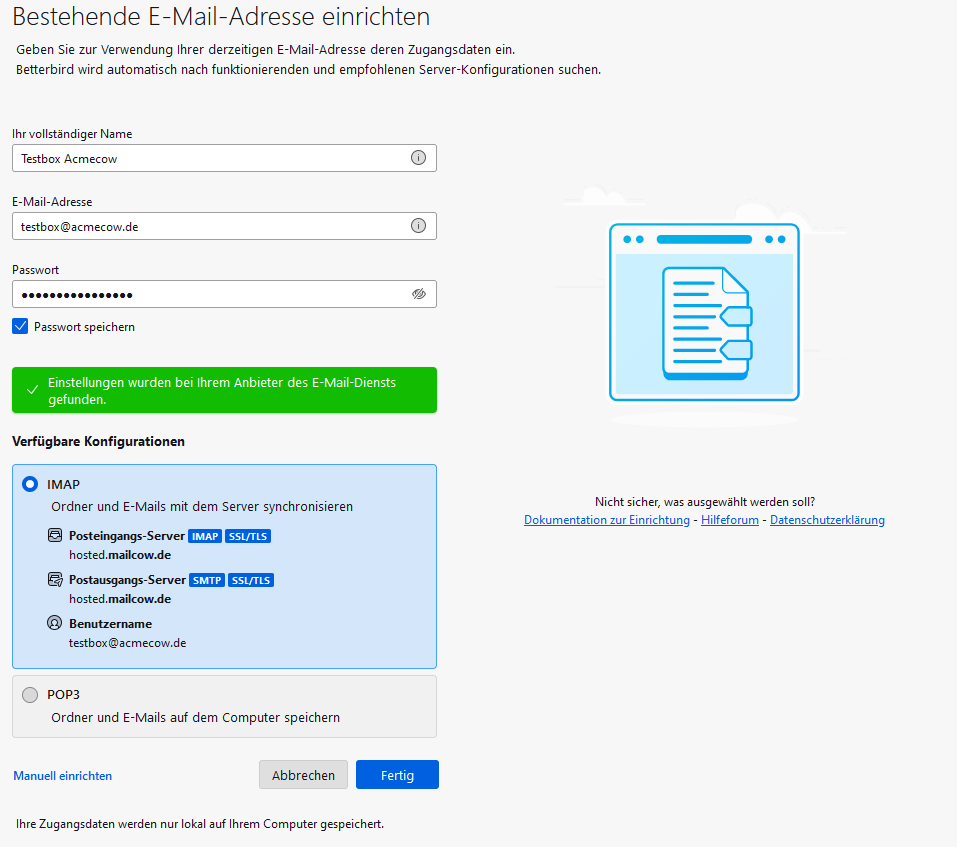
Note
If you have set up Autoconfig correctly, Thunderbird will automatically find the correct settings!
-
Click on Done, and your email account will be set up in Thunderbird.
Tip
If you also want to add calendars or address books to Thunderbird, you can do so immediately after clicking Done. Configuration assistants will open, which are described further below.
Add Mailbox Manually
- Open Thunderbird or another fork of Thunderbird.
- If this is the first time setting it up, the configuration assistant should open automatically. If not: Click on the burger menu in the top right corner and select New Account.
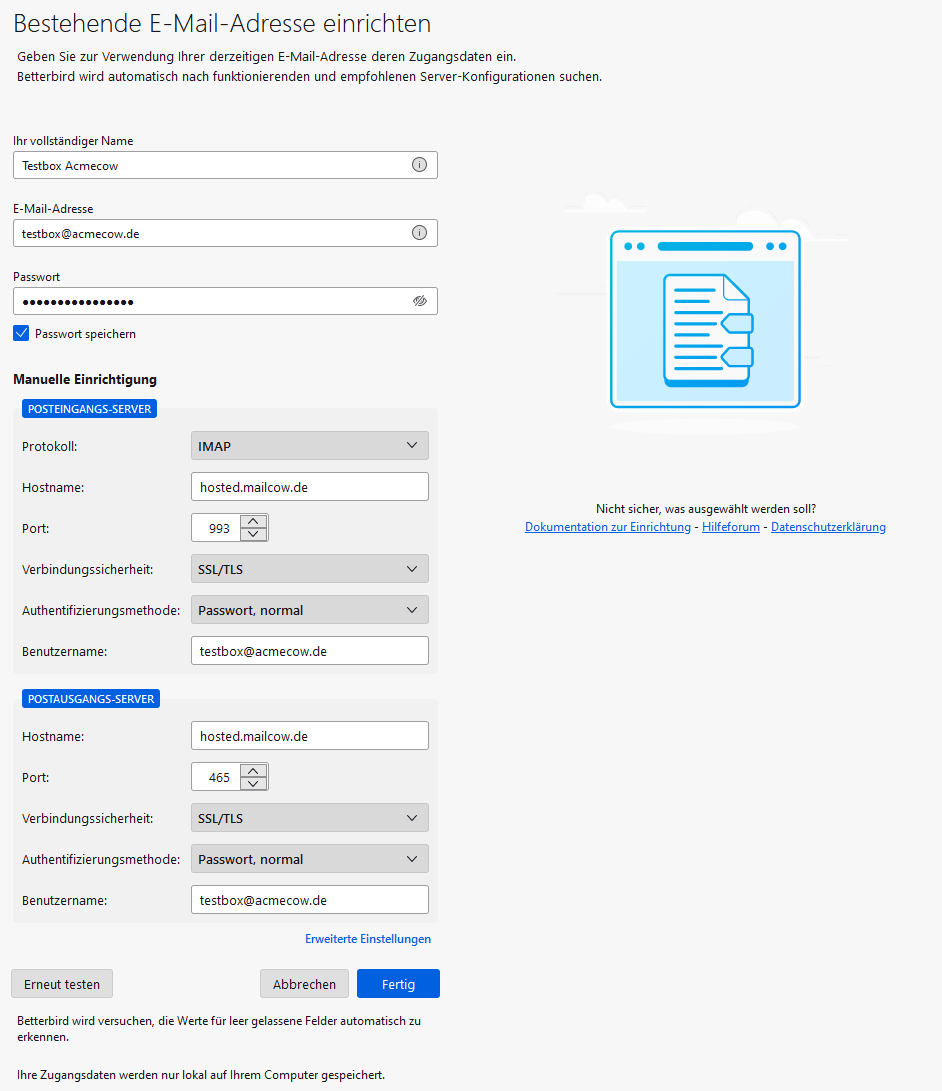
- A configuration assistant will open, which you fill out with the mailbox data as well as the data from the guide Mail Server Configuration Data:
- Click on Done, and your email account will be set up in Thunderbird.
Tip
If you also want to add calendars or address books to Thunderbird, you can do so immediately after clicking Done. Configuration assistants will open, which are described further below.
Add CalDav Calendar (mailcow Groupware)
Info
Steps 1 and 2 are only required if you haven't already opened the calendar assistant.
- Locate the Calendar tab in Thunderbird and open it.
- Click on New Calendar... in the bottom right corner.
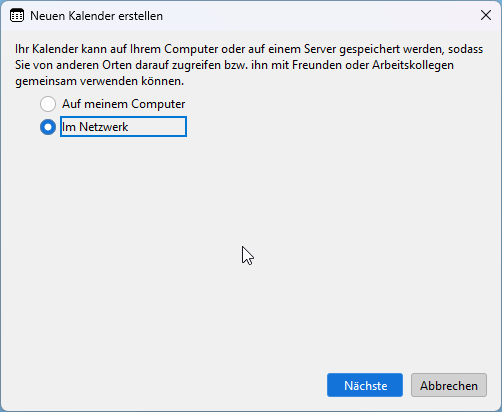
- Select On the Network and then Next:
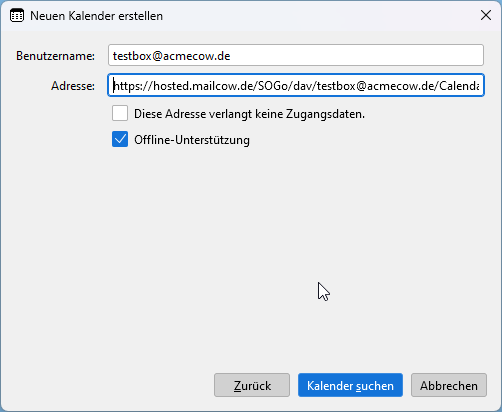
- Enter your email address as the username.
- Use the calendar URL as the address. To find this URL, do the following:
- Log in to the SOGo Webmailer with your mailbox credentials.
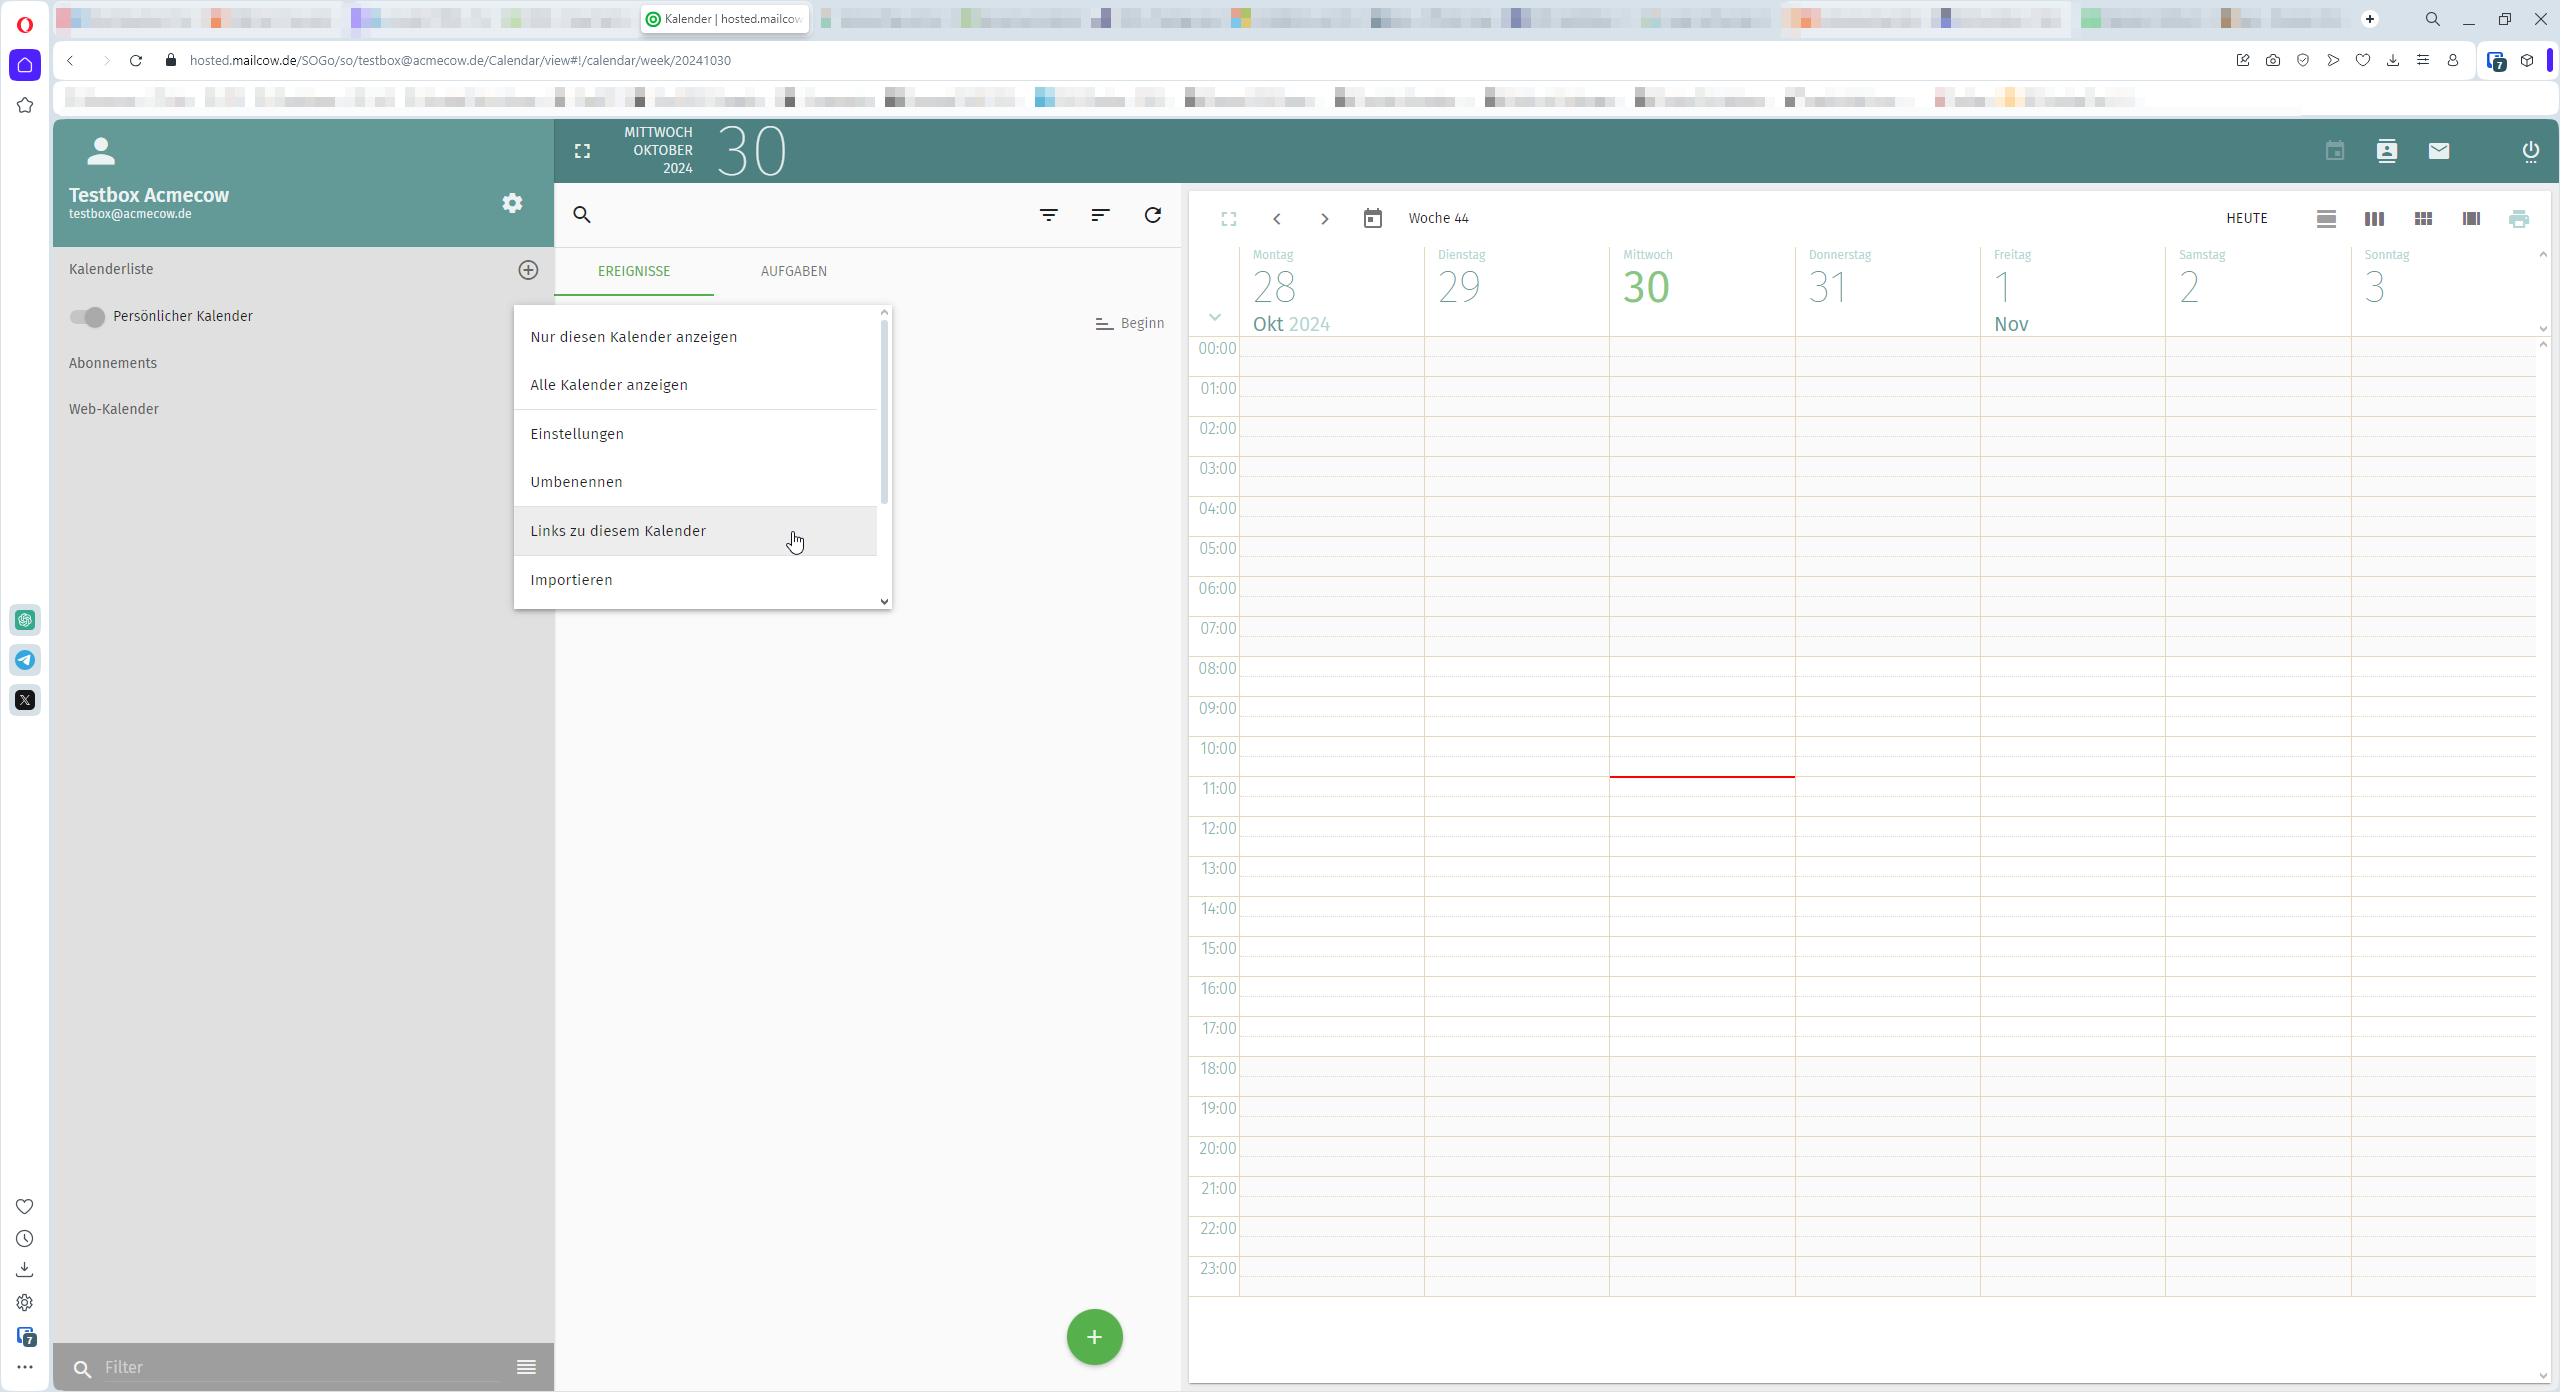
- Once logged in, click on the small calendar icon in the top right corner.
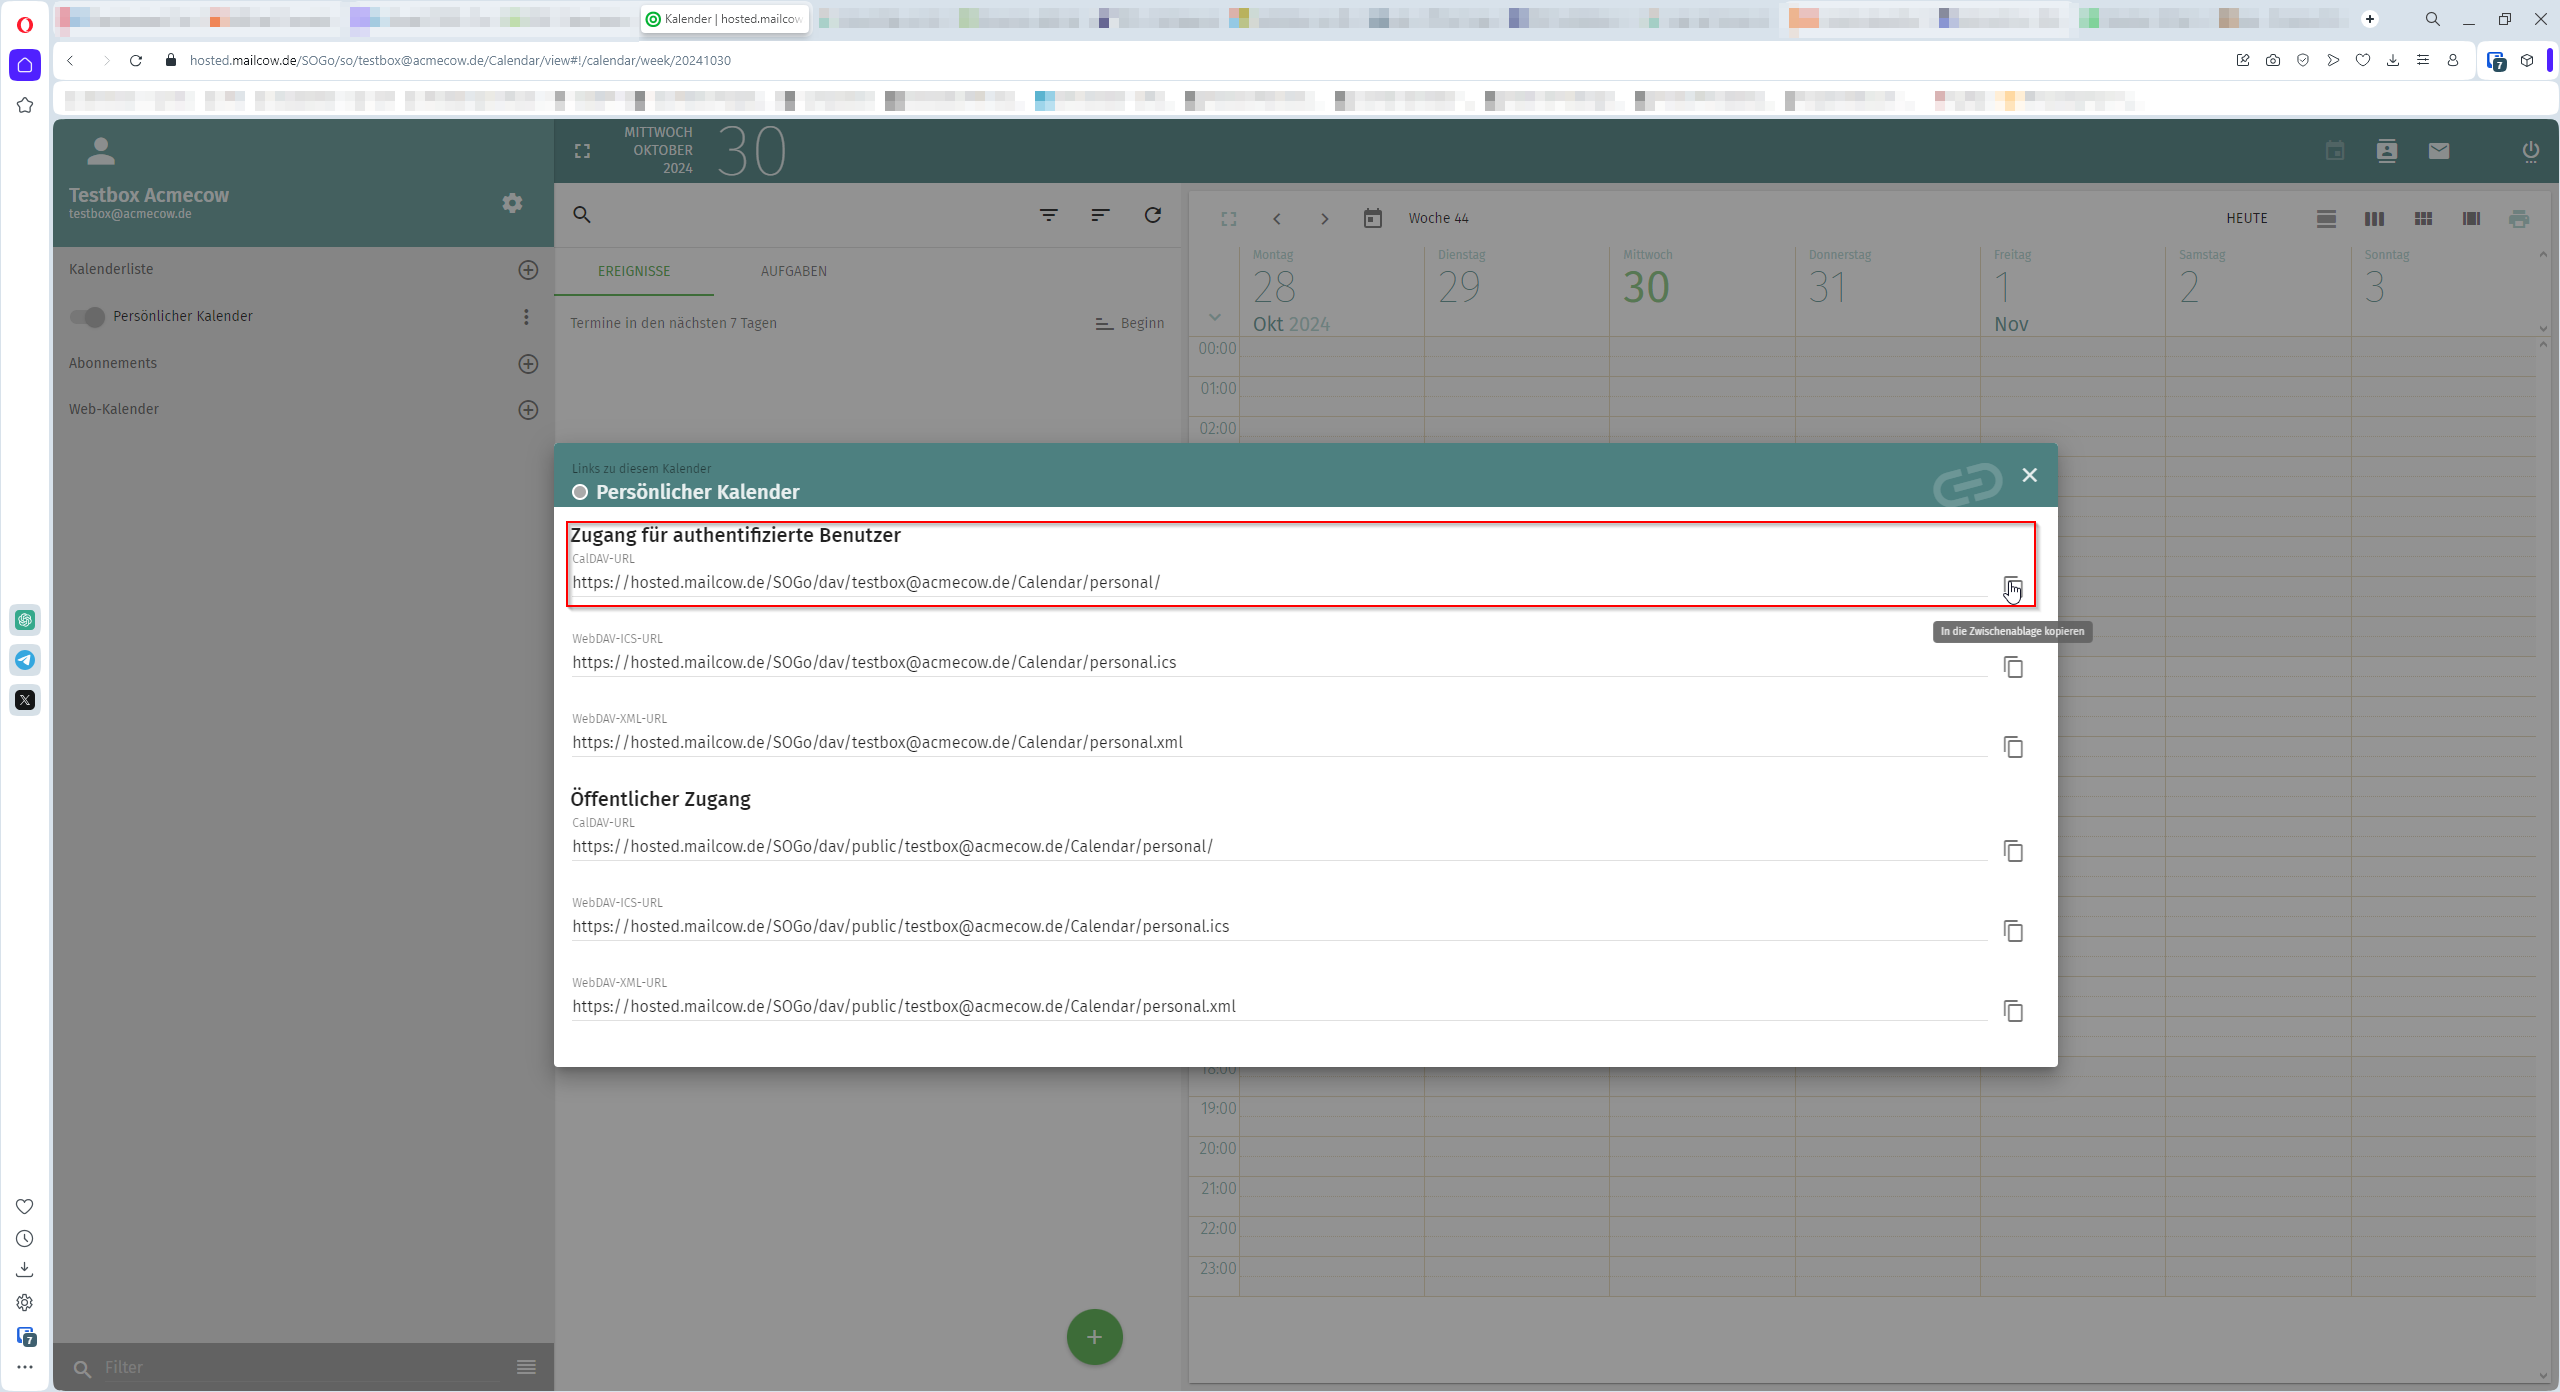
- The calendar page will open, showing all calendars on the left. Click on the small dots to the right of a calendar and select Links to this Calendar:
- A popup will appear containing the URLs. Use the CalDAV URL for authenticated users:
- The entered values should look similar to the example below. If so, click on Find Calendar:
- Thunderbird will now ask for a password. Use the same password you used to log in. Enter it and confirm.
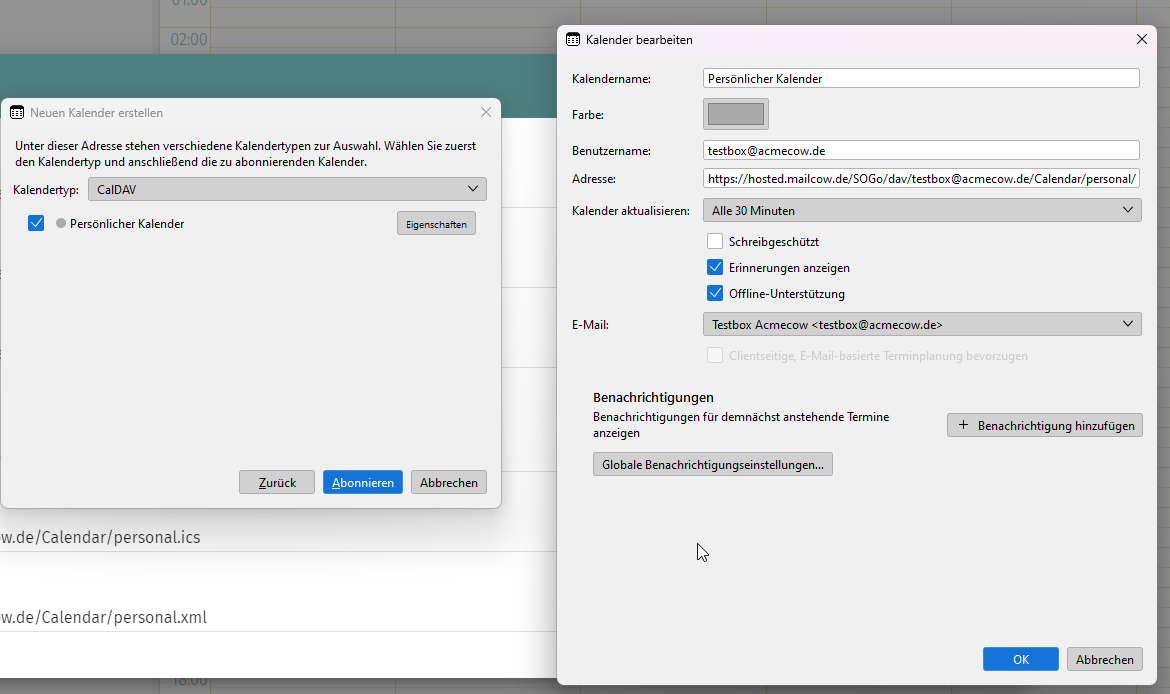
- Optional: Make additional adjustments by clicking on Properties:
Success!
You have now set up a calendar in Thunderbird!
Add CardDav (Address Book)
Info
Steps 1 and 2 are only required if you haven't already opened the address book assistant.
- Locate the Address Book tab in Thunderbird and open it.
- Click on the arrow next to New Address Book in the top right corner. Select the entry with CardDAV Address Book.
- A new window will open. Enter your email address as the username.
- Use the address book URL as the address. To find this URL, do the following:
- Log in to the SOGo Webmailer with your mailbox credentials.
- Once logged in, click on the small card icon with a figure in it in the top right corner.
- The address book page will open, showing all address books on the left. Click on the small dots to the right of the address book of your choice and select Links to this Address Book:

- A popup will appear containing the URLs. Use the CardDAV URL for authenticated users:

- Confirm the details.
- Thunderbird will now ask for a password. Use the same password you used to log in. Enter it and confirm.
Success!
You have now set up an address book in Thunderbird!