Set Up Out of Office Message
Notice
The Images used in this page are used from the German version and will change in the near future.
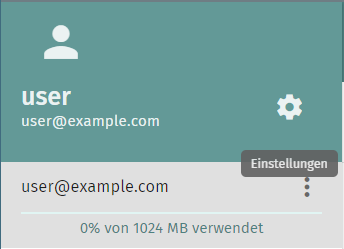
- Log in to SOGo (Webmail)

- Navigate to
Settings(gear icon)
- Switch to the
Emailtab
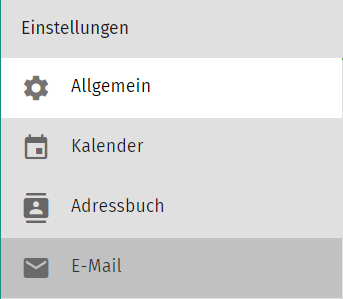
- Go to the
Out of Officesection
-
Configure the Out of Office Message

Check the boxEnable automatic out of office message.
Now you can select/configure the individual options for the out-of-office message.
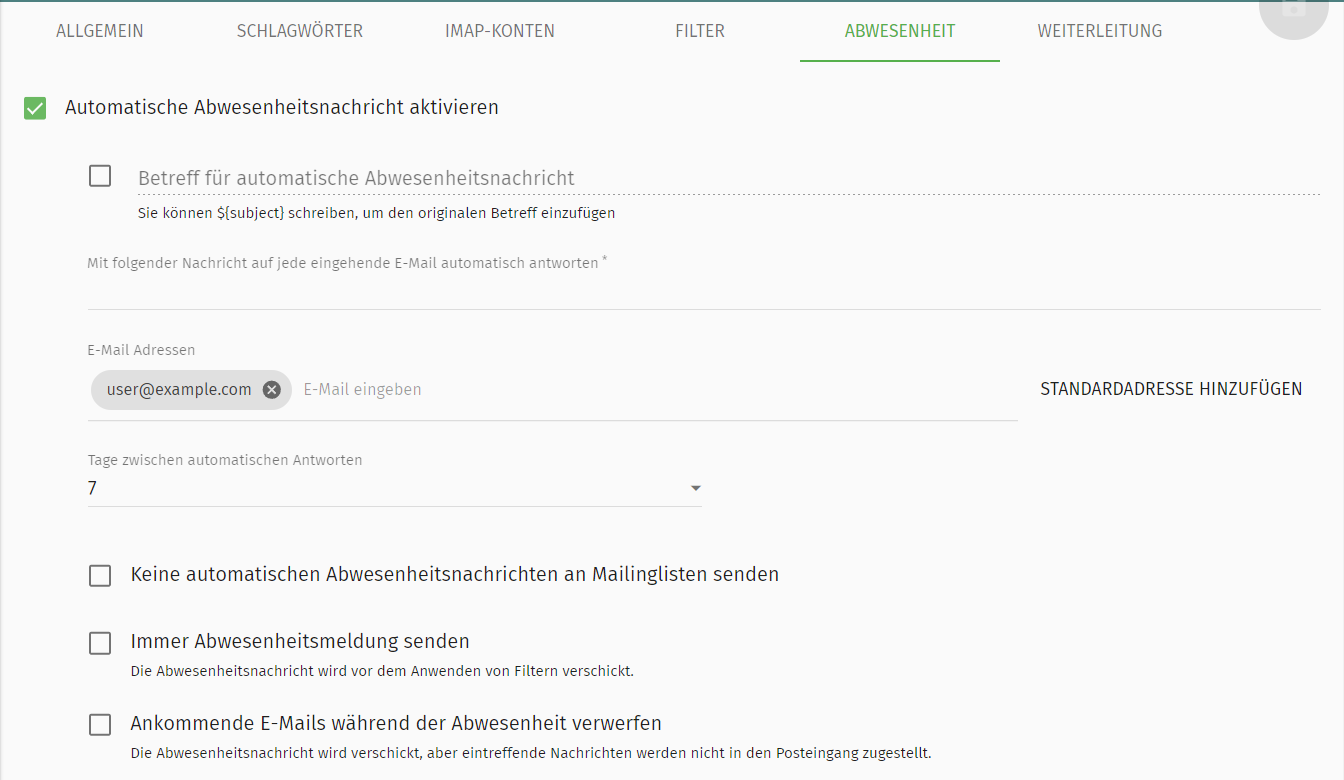
The following options can be configured here:Subject for automatic out of office message
For example, you can enter ${subject} here to reuse the sender's subject for the automatic reply.
Alternatively, you can add something like Out of Office: ${subject} to prepend "Out of Office:" for better understanding by the recipients (who are also the senders in this case).
Automatically reply to every incoming email with the following message (for the specified email address(es))Email addresses to which automatic replies should be sentDays between automatic replies (to avoid sending an automatic reply for every incoming email)
Info
The checkboxes
- Do not send automatic out of office messages to mailing lists
- Always send out of office message
- Discard incoming emails during out of office period
are self-explanatory or already include a description.
Activation Conditions
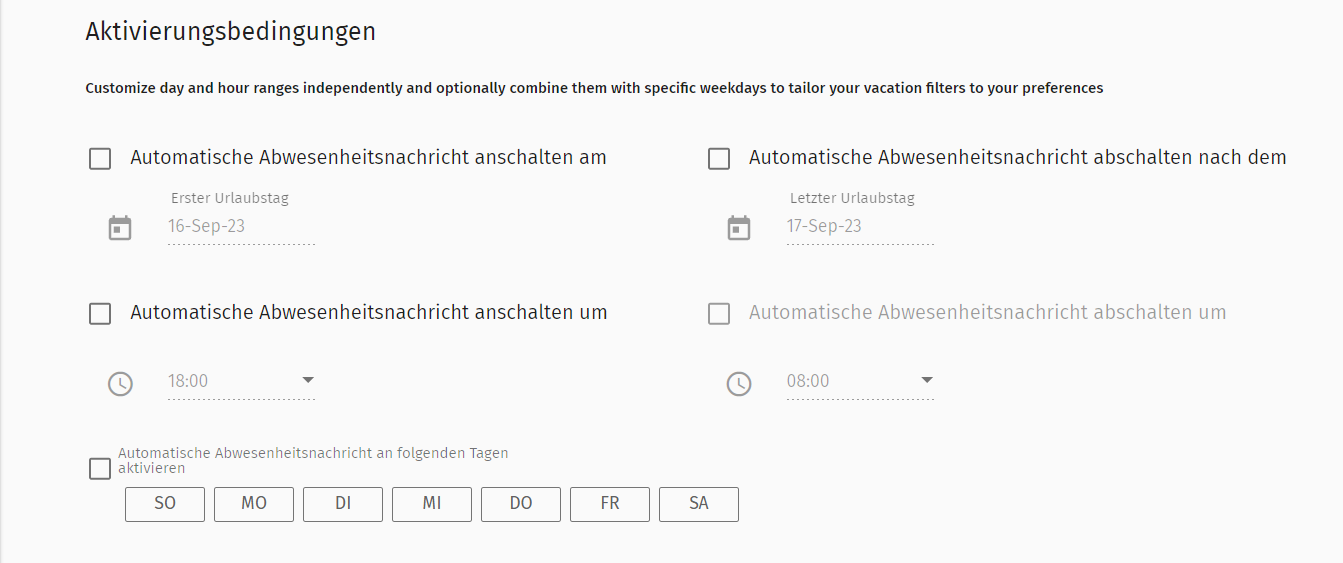
Here you can adjust the day and hour ranges independently or optionally combine them with specific weekdays to tailor your vacation filters to your preferences.
Below, you can configure:
Turn on automatic out of office message on (select date "First vacation day")Turn off automatic out of office message after (select date "Last vacation day")Turn on automatic out of office message at (select time)Turn off automatic out of office message at (select time)Activate automatic out of office message on the following days (select weekdays when the out-of-office message should be active)
Finally, the configuration and selected options must be saved (click save in the top right corner (disk icon)).
Prerequisites
In the mailcow UI, Sieve (permission) must be enabled for the target mailbox (for which the out-of-office message is to be configured) under Email > Configuration > Edit (for the target mailbox) > Allowed Protocols.